Microsoft Teams has a great range of features. Not only do they help us to schedule a meeting and connect with your co-workers instantly through chat or call, but also you can access your files stored on Microsoft cloud instantly when & where required. But here I am going to tell you about the feature which allows you to plan a webinar through Teams following simple steps, and you can also add customized forms for attendees to fill out to register for the webinar.
I will show
you how to schedule a webinar and add a response form to it for attended:
1. Start with going to your Microsoft teams and select Calendar from the left Panel.(Refer to the below screenshot)

2. Now on the right top-hand side, you can see a down arrow near the New meeting button. You will get three choices by pressing that arrow button which are Schedule meetings, webinars and live events. Please click on Webinar.

3. In the next windows, you will have several options. We will start with creating a registration form. So you need to click on the View registration form option available in this window. ( Refer to the below screenshot)
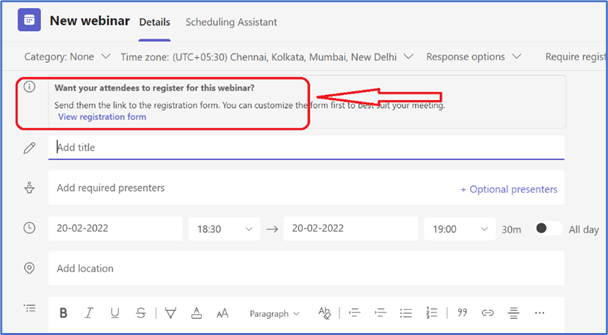

5. Now you will land on the new webinar form. Add your webinar Title and add people you want to invite in Add your presenter list, select date and timings, add meeting location and description.


Once you are done. Click send and you are done.
After that, you can go to your calendar to view, edit and cancel this webinar.
Keep learning, Keep improving.
Comments
Post a Comment